

A bit late here, Spring 2016 collections already done and I'm still digging through Resort.. Or one dress in particular - this Wes Gordon dream. I really wanted to make my version out of suede as well, but reality checked in when I arrived in Dubai and it was clear that's not the material for this place. I also went with a slightly more conservative variation, with a single slit instead of one on both sides, and not as low of a V for the neckline.
Tutorials take a lot of time & effort to create, and I choose to make mine available for free. If you enjoy this guide, you can support me with a donation that feels right for you, here.
TOOLS:
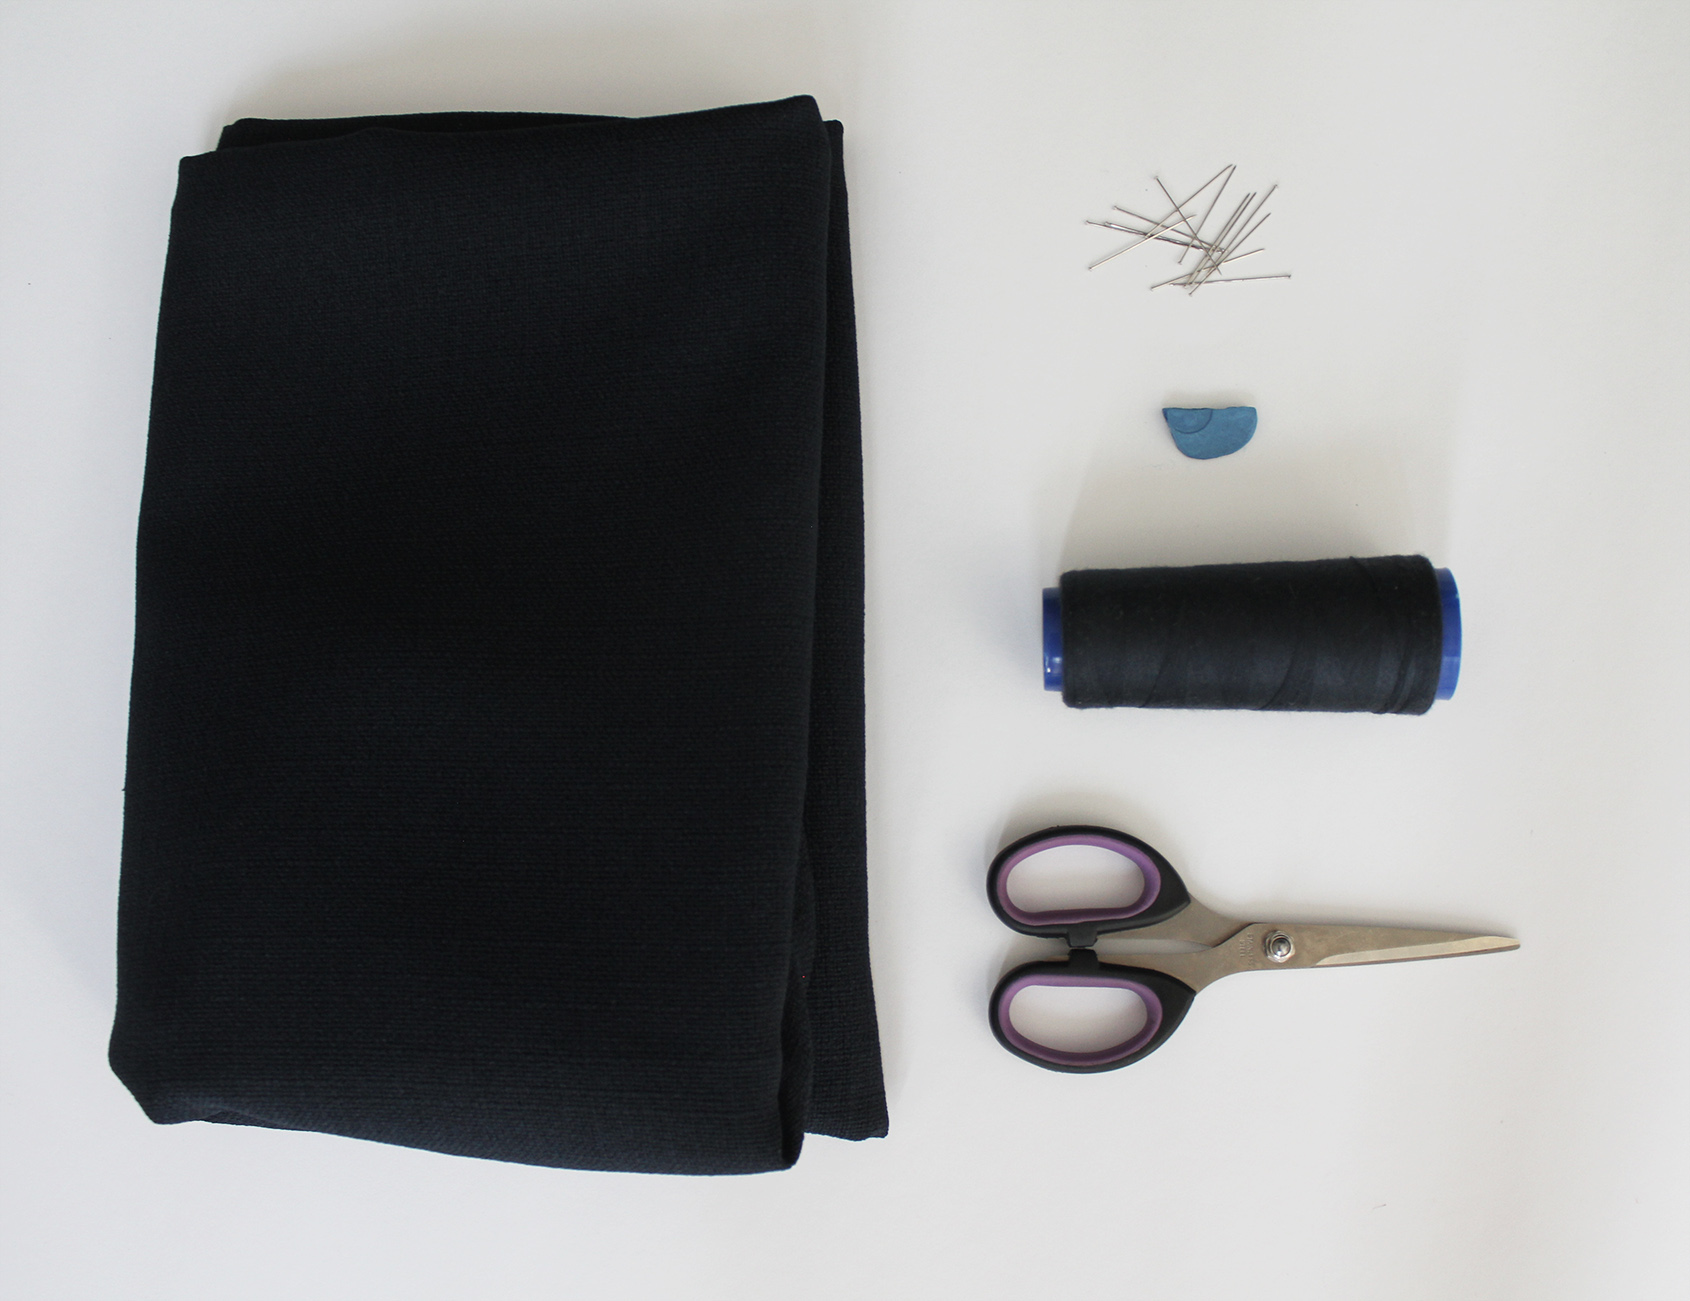
Fabric - I used a cotton knit - 1,5 m | Fabric marker | Thread & sewing machine | Pins | Scissors
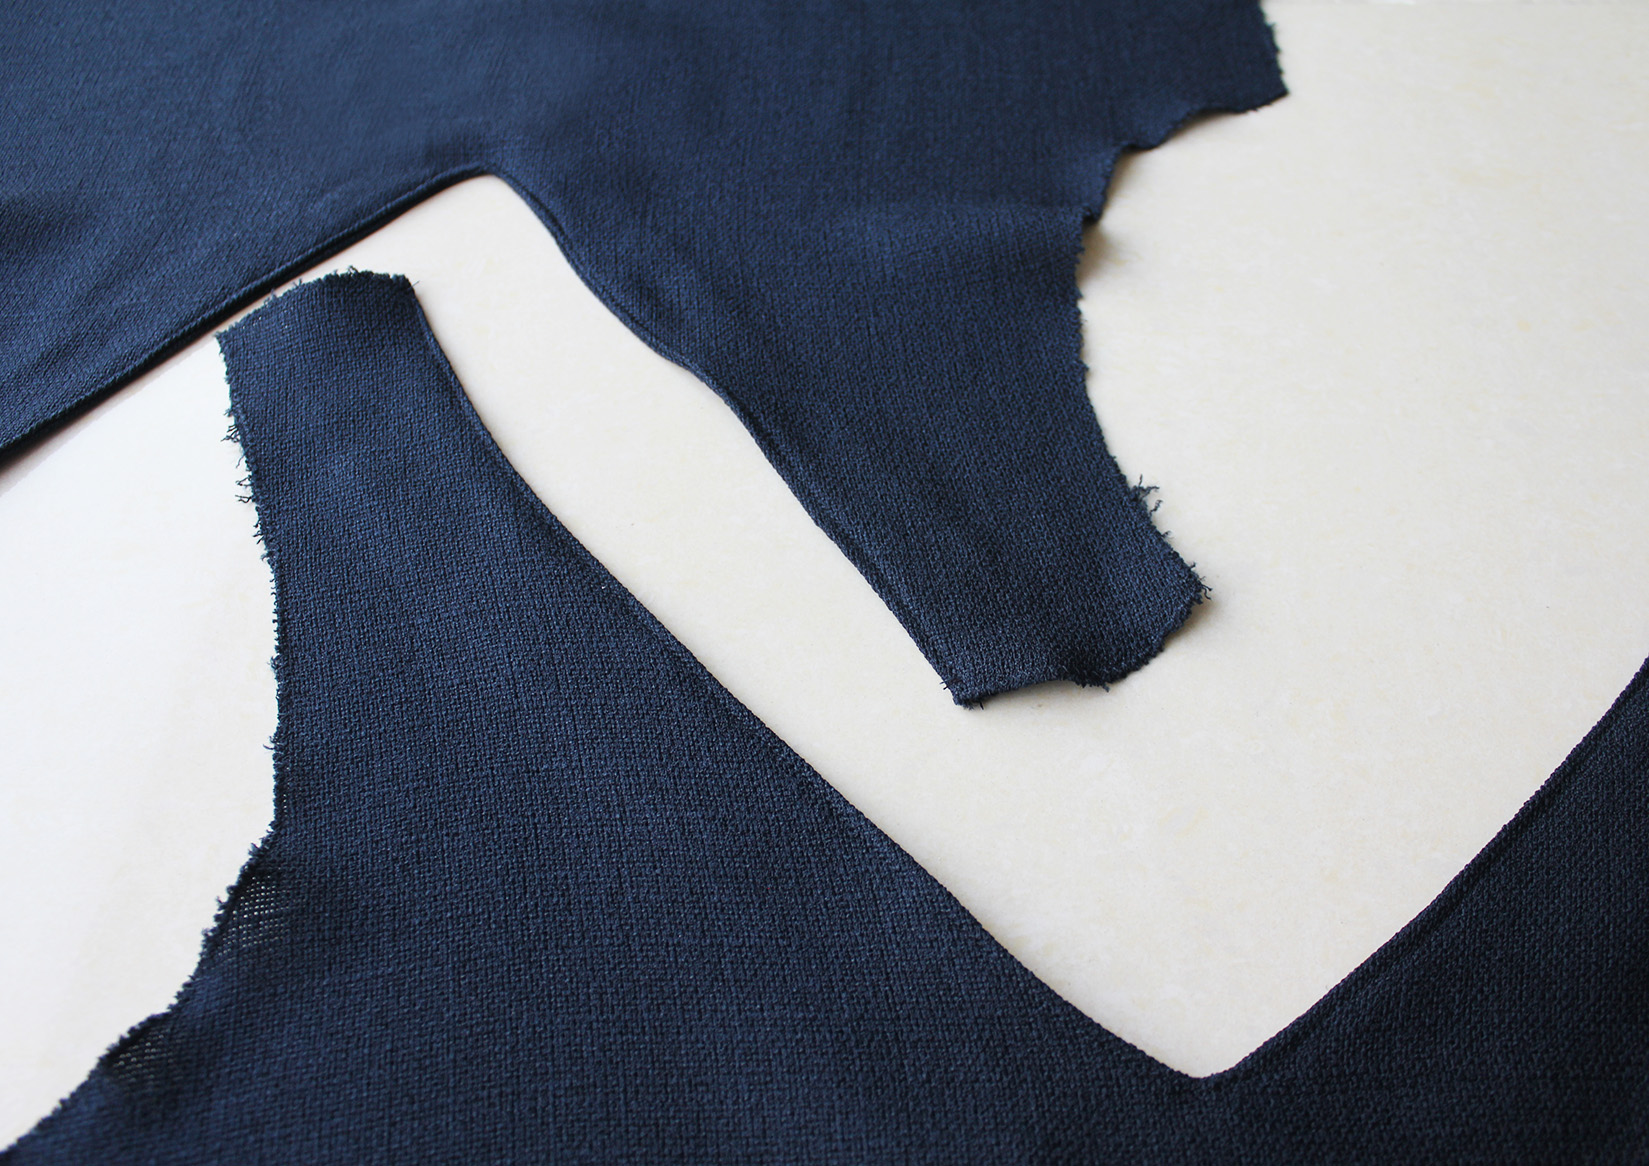
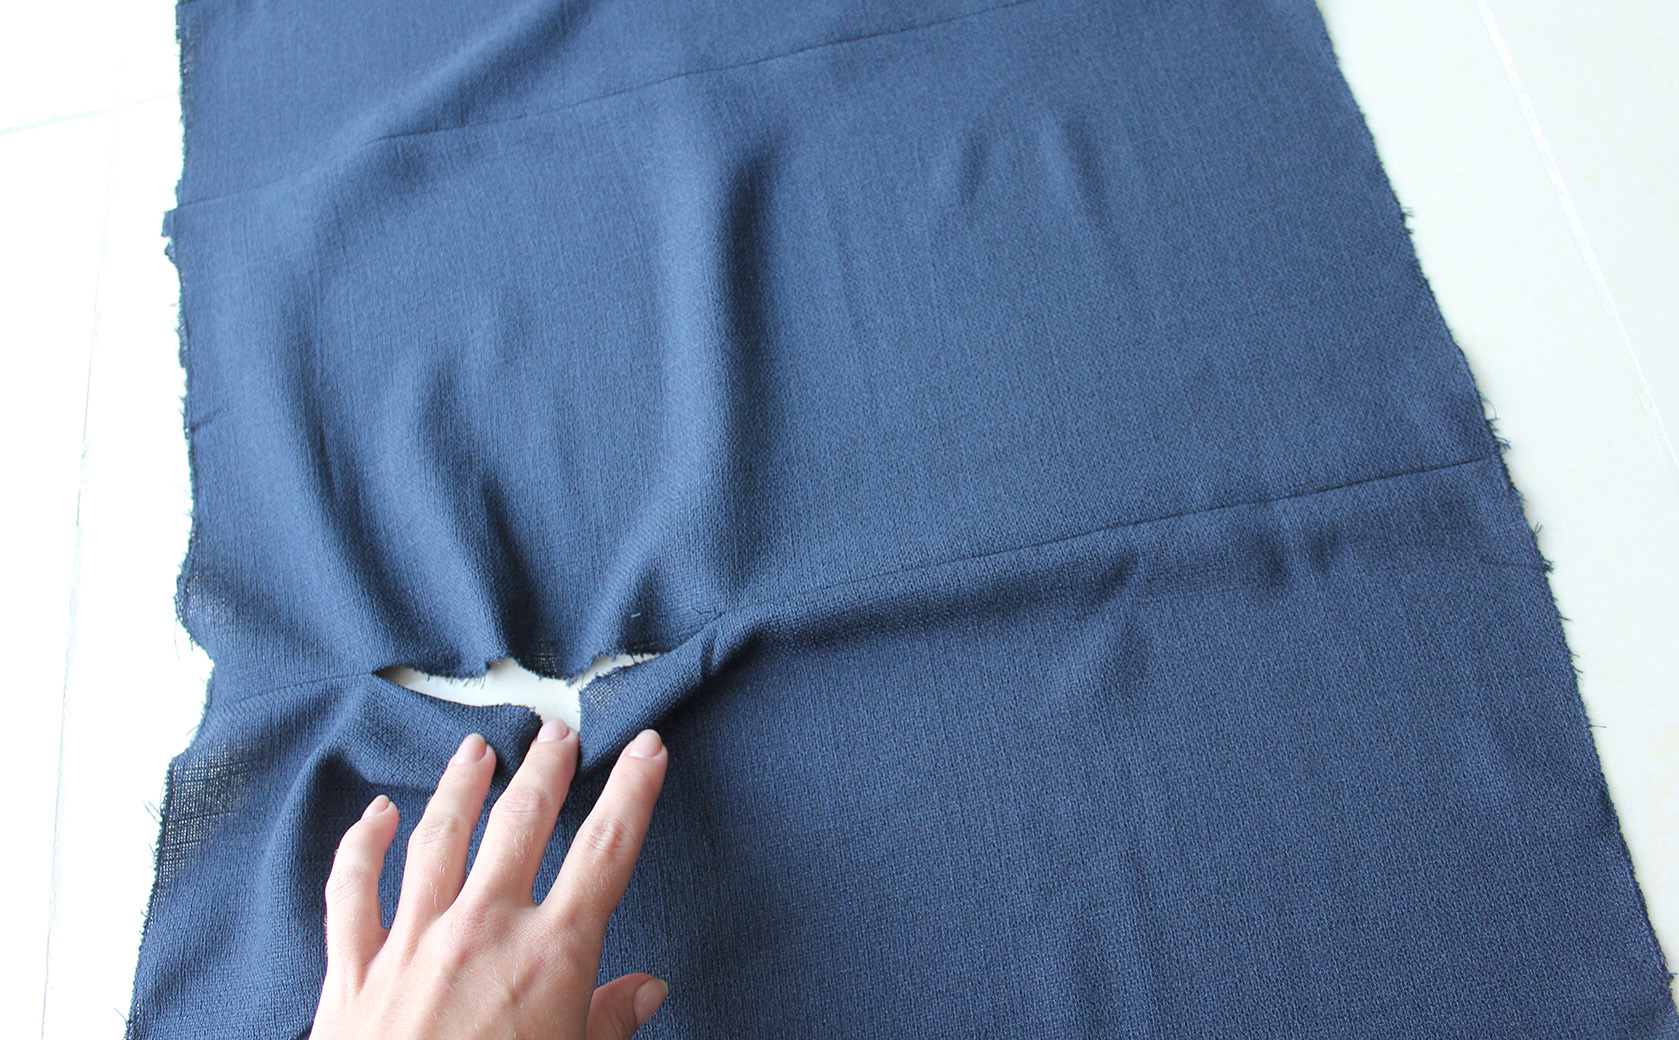
I. Cut out out the pieces. Make sure the stretch of the fabric runs horizontally. Finish raw edges with a zig-zag if your fabric frays. The measurements are indicative of my European size 36 (US 4), with a loose fit. The V-shaped pieces should match the necklines of the front and back pieces, about 4-5 cm in width. You can use the top pieces of the dress to trace them to make sure they'll be an exact match to the neckline.
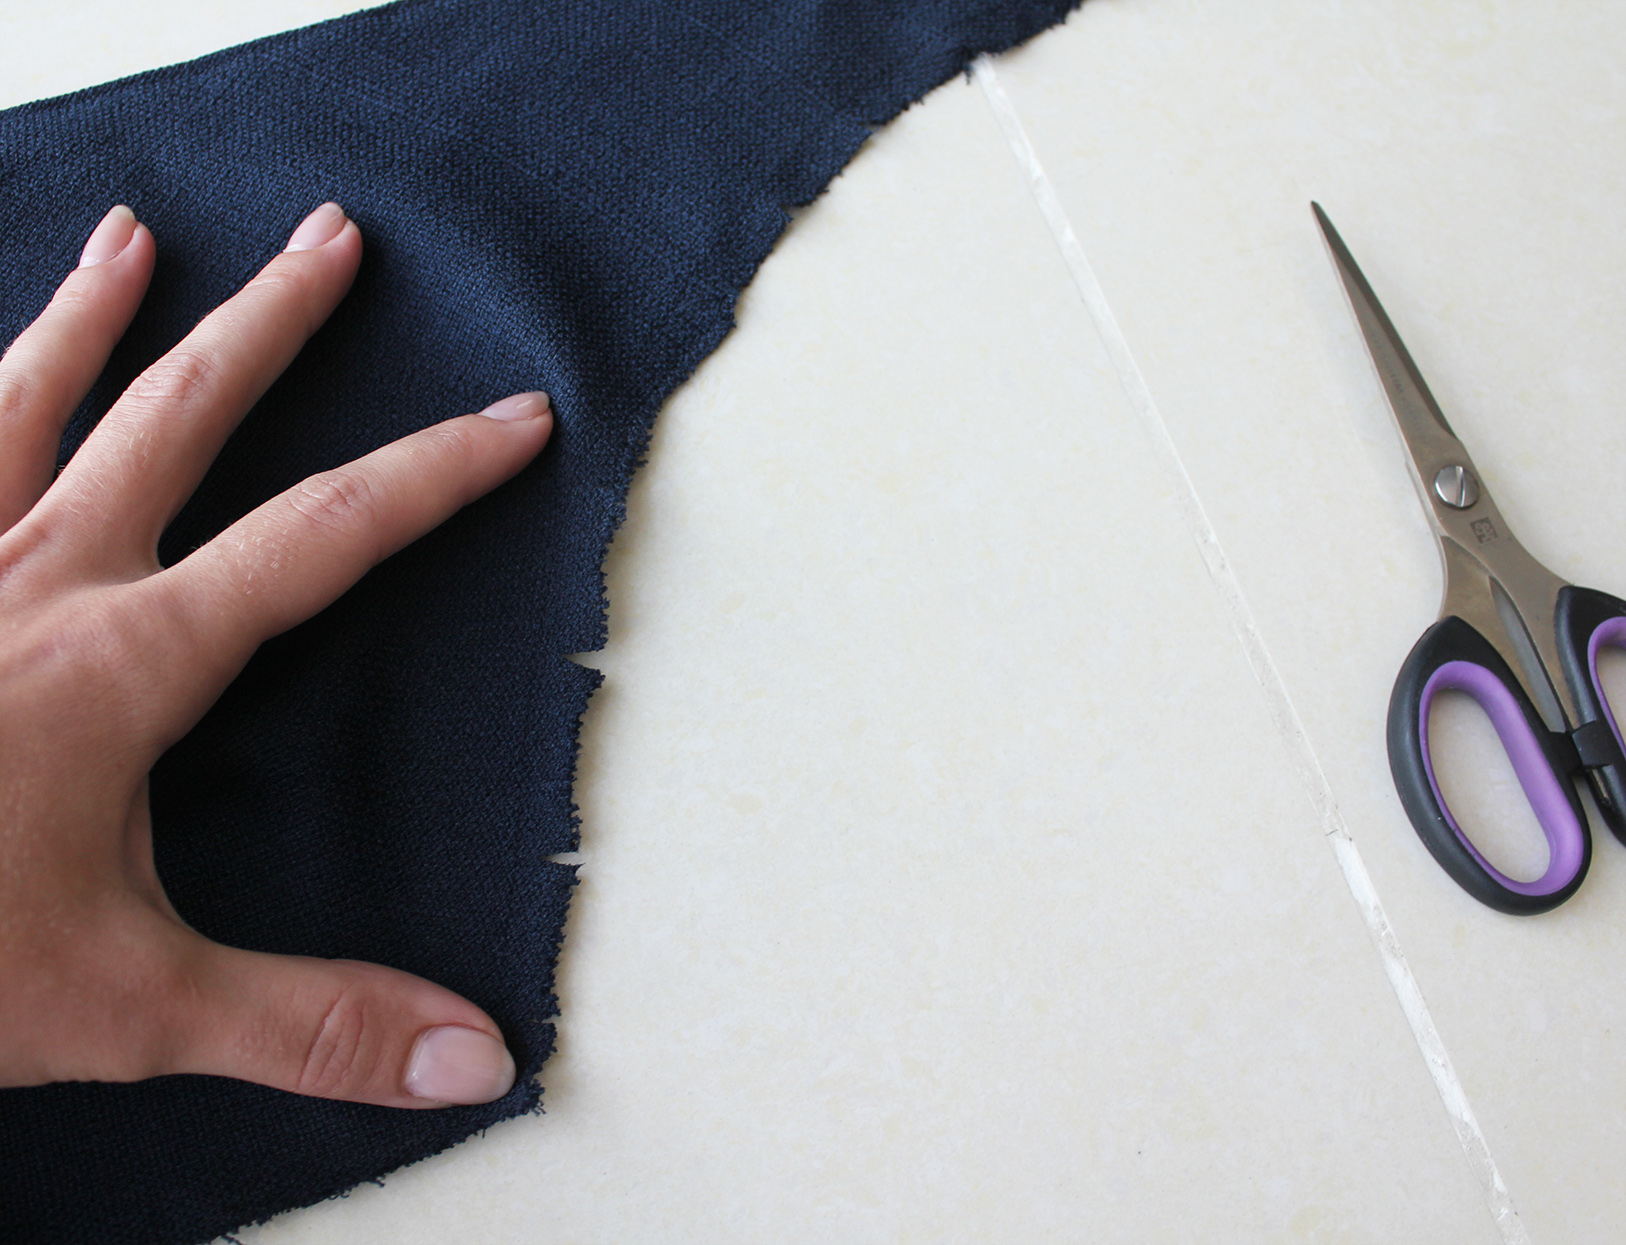
 II. Pin the V-shaped piece to the neckline and sew right along the edge. Cut a notch to the bottom of the v (careful not to cut through your stitch) to prevent any puckering...
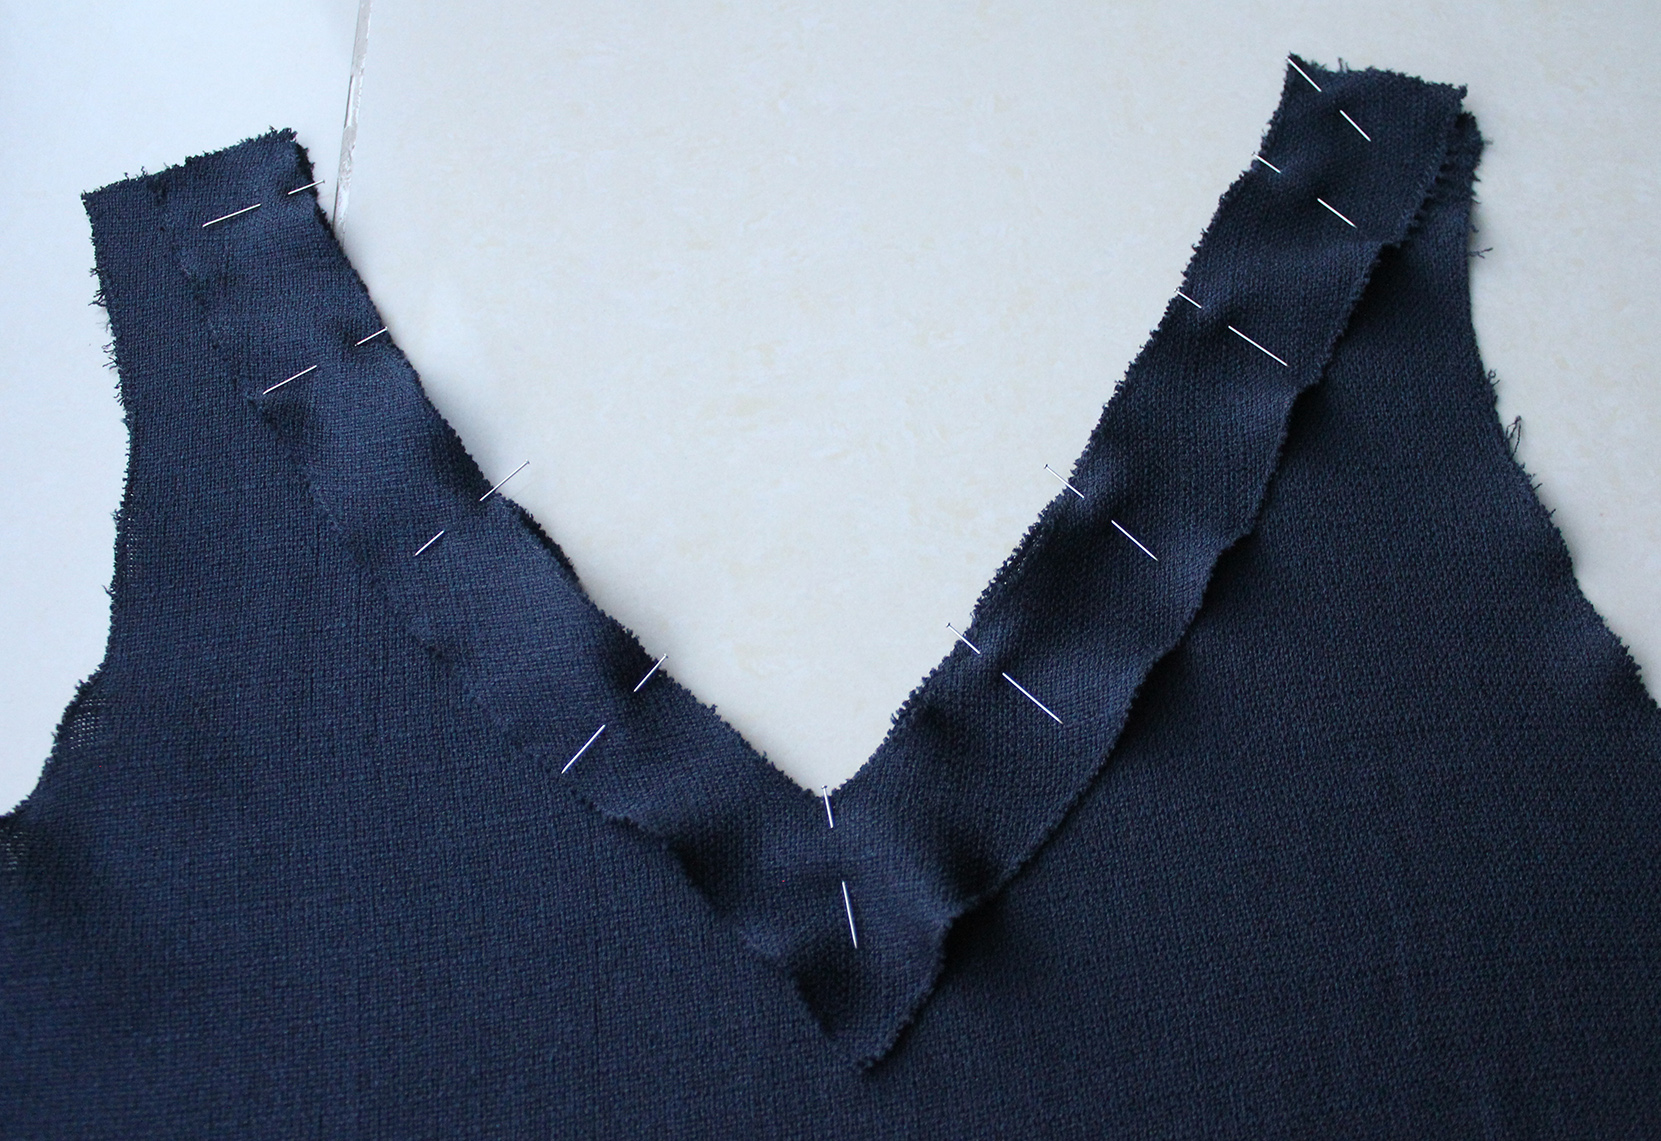
.. When you flip the lining on the reverse side, press the seam, and top stitch right next to the edge to create a clean finish.
III. Add darts to either side of the bust area for shape.
IV. Pin the front middle piece to the front top piece, right sides facing, and sew across. Repeat for the back top and middle piece.

V. For the bottom part of the dress, I made things a bit complicated for myself. It would have of course be easier to just cut the front bottom rectangle in two so you have a piece that's about 1/4 of the width and another 3/4 of the original width, finish their inner edges that will make up the slit with a small fold, and sew them onto the top piece of the dress. But I wasn't sure where exactly I wanted to slit to be, so I left an area un-sewn to confirm the spot (I left some extra for the seam allowances of the slit).
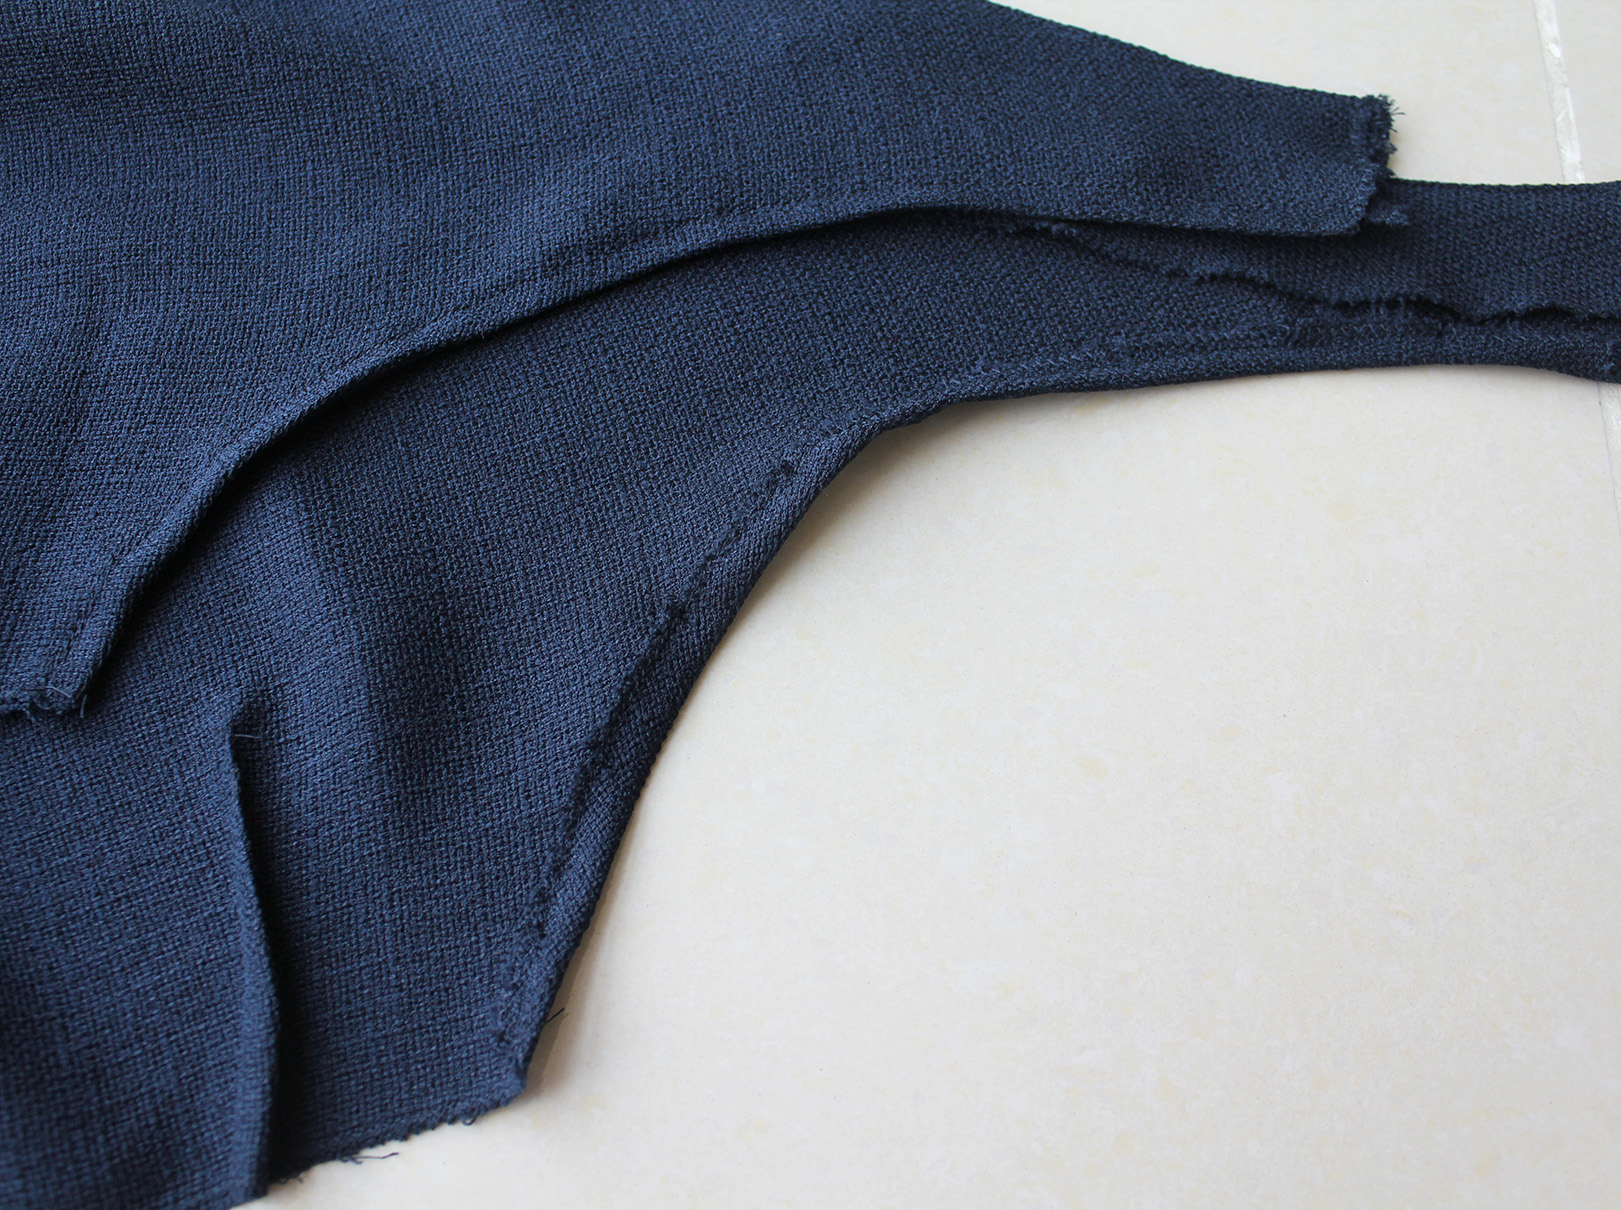
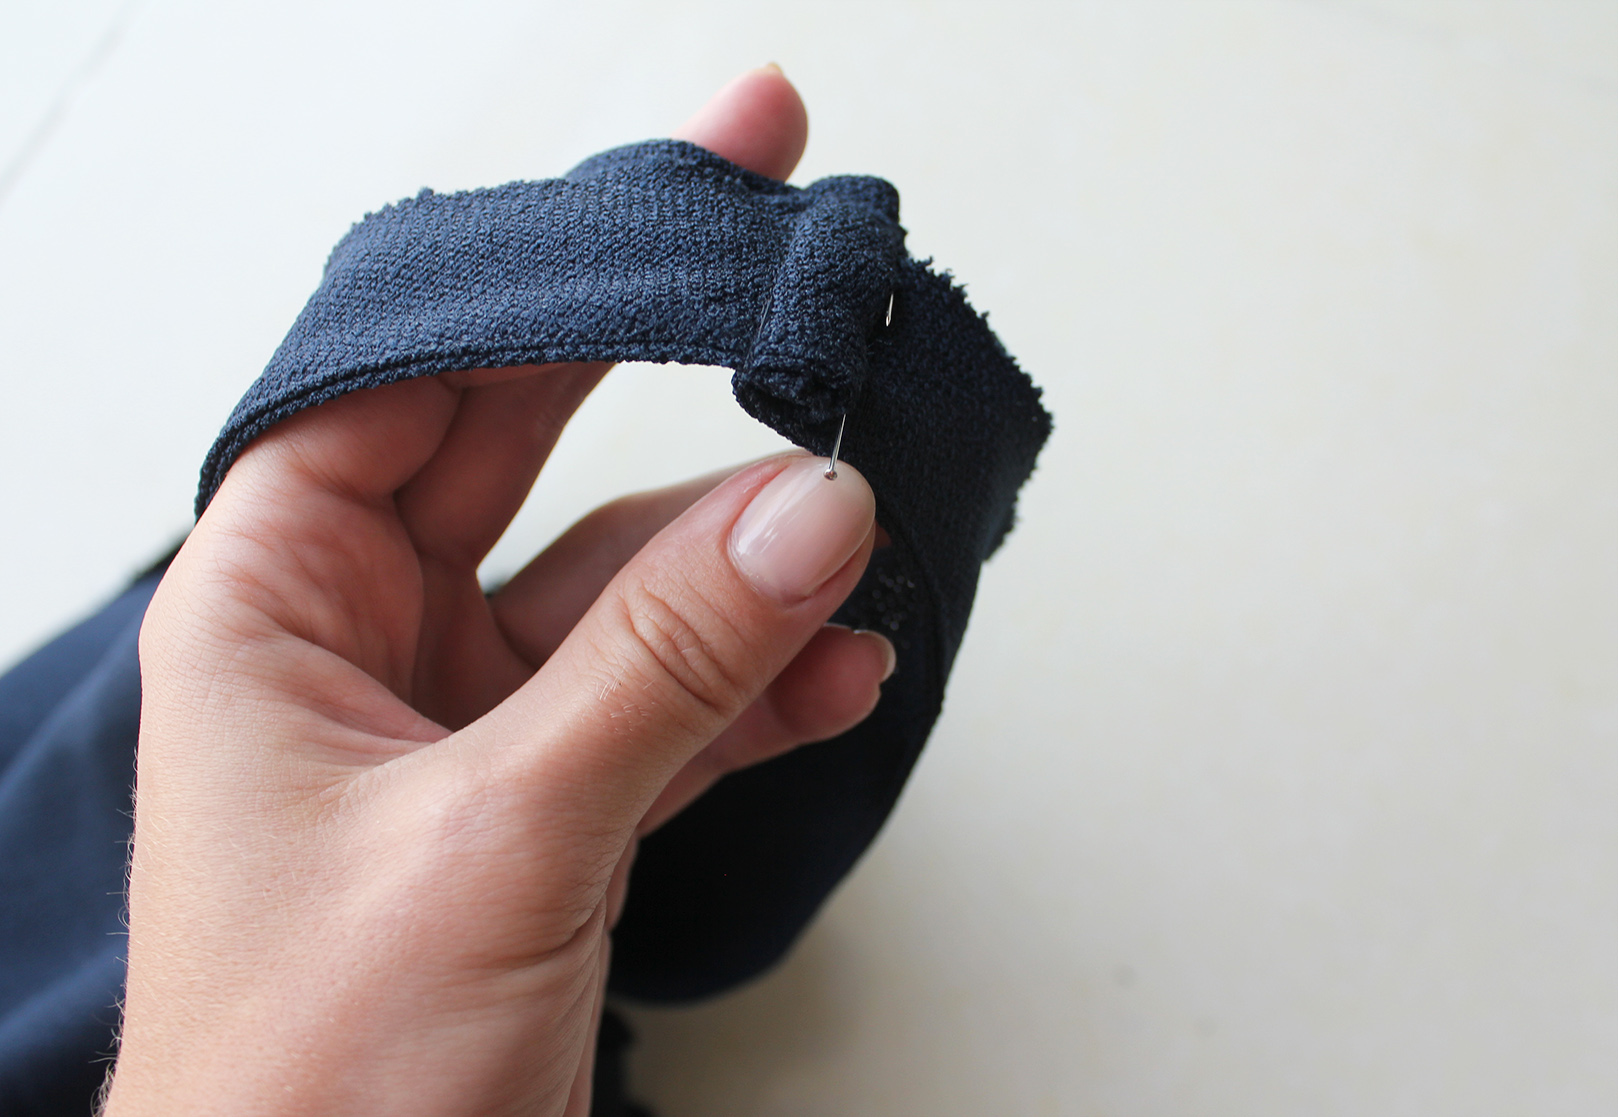
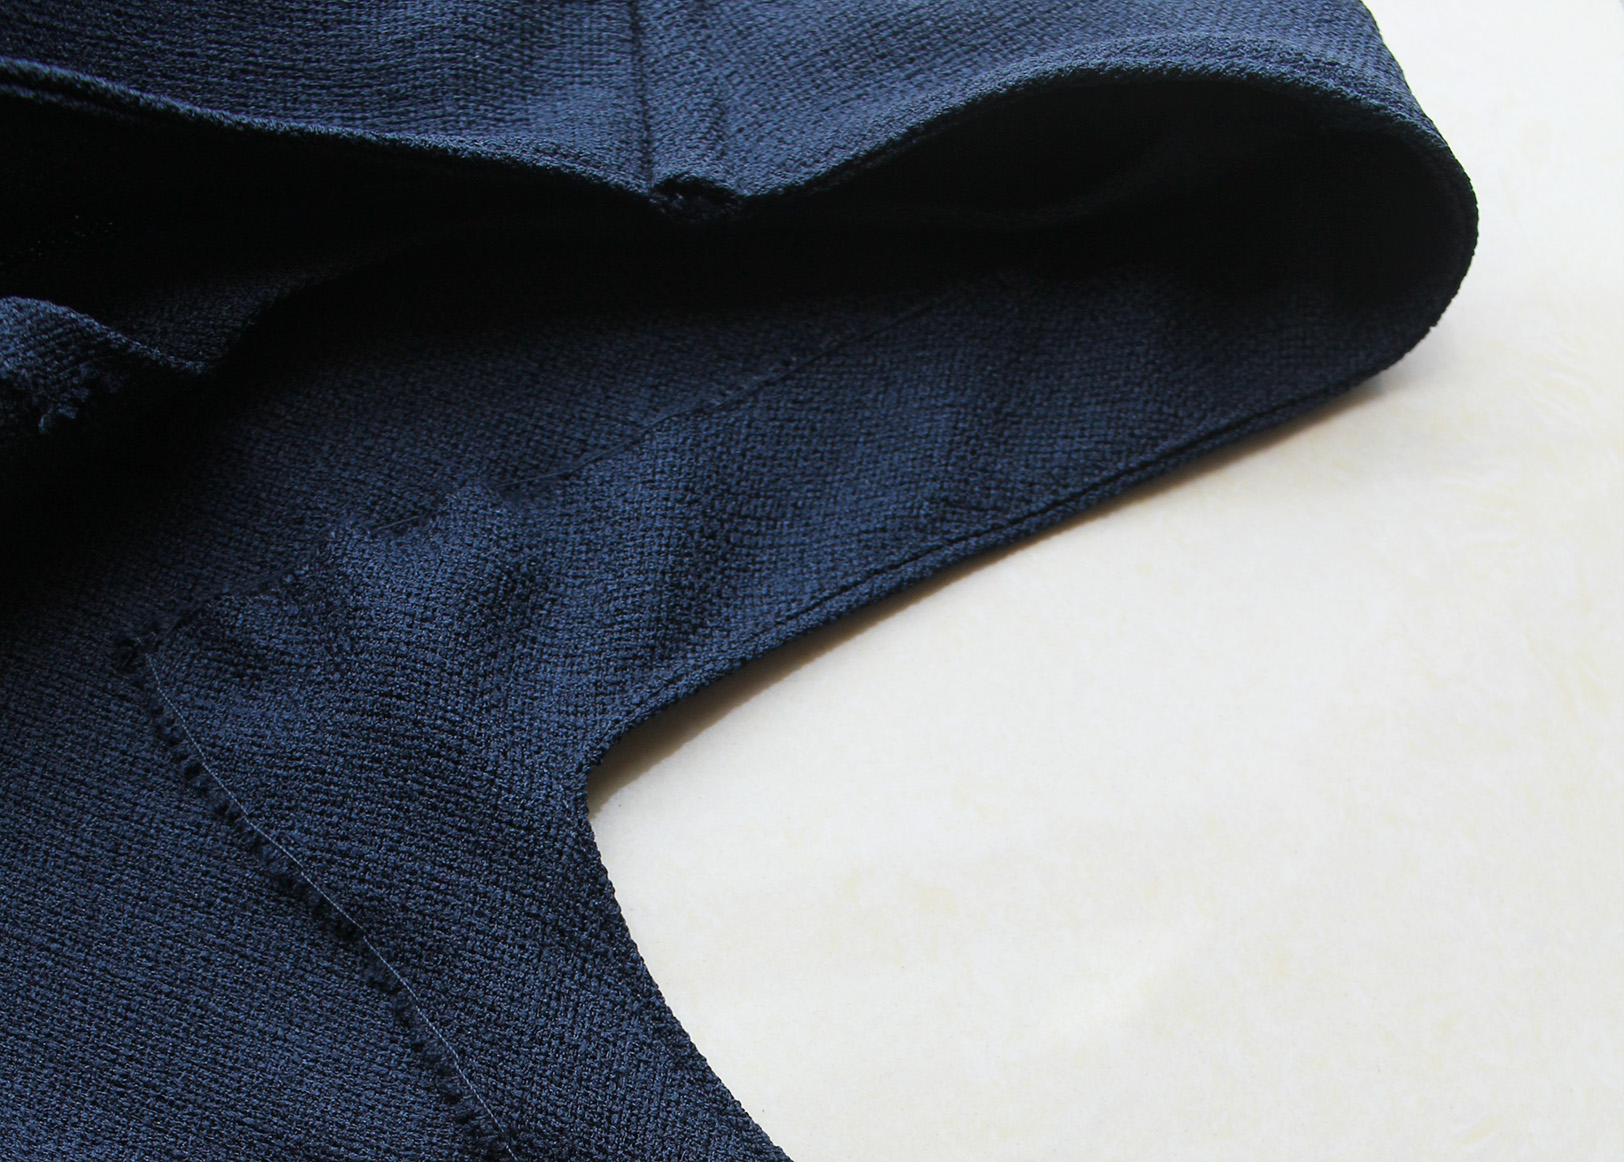
VI. Back to the top. Sew a straight stitch where you will fold the seam allowance of the arm holes (this really helps when working with knits to maintain the piece's shape). Cut notches along the curve to make it easier to turn fold. Press your fold with your iron along the straight stitch you added, pin in place..
.. And stitch.
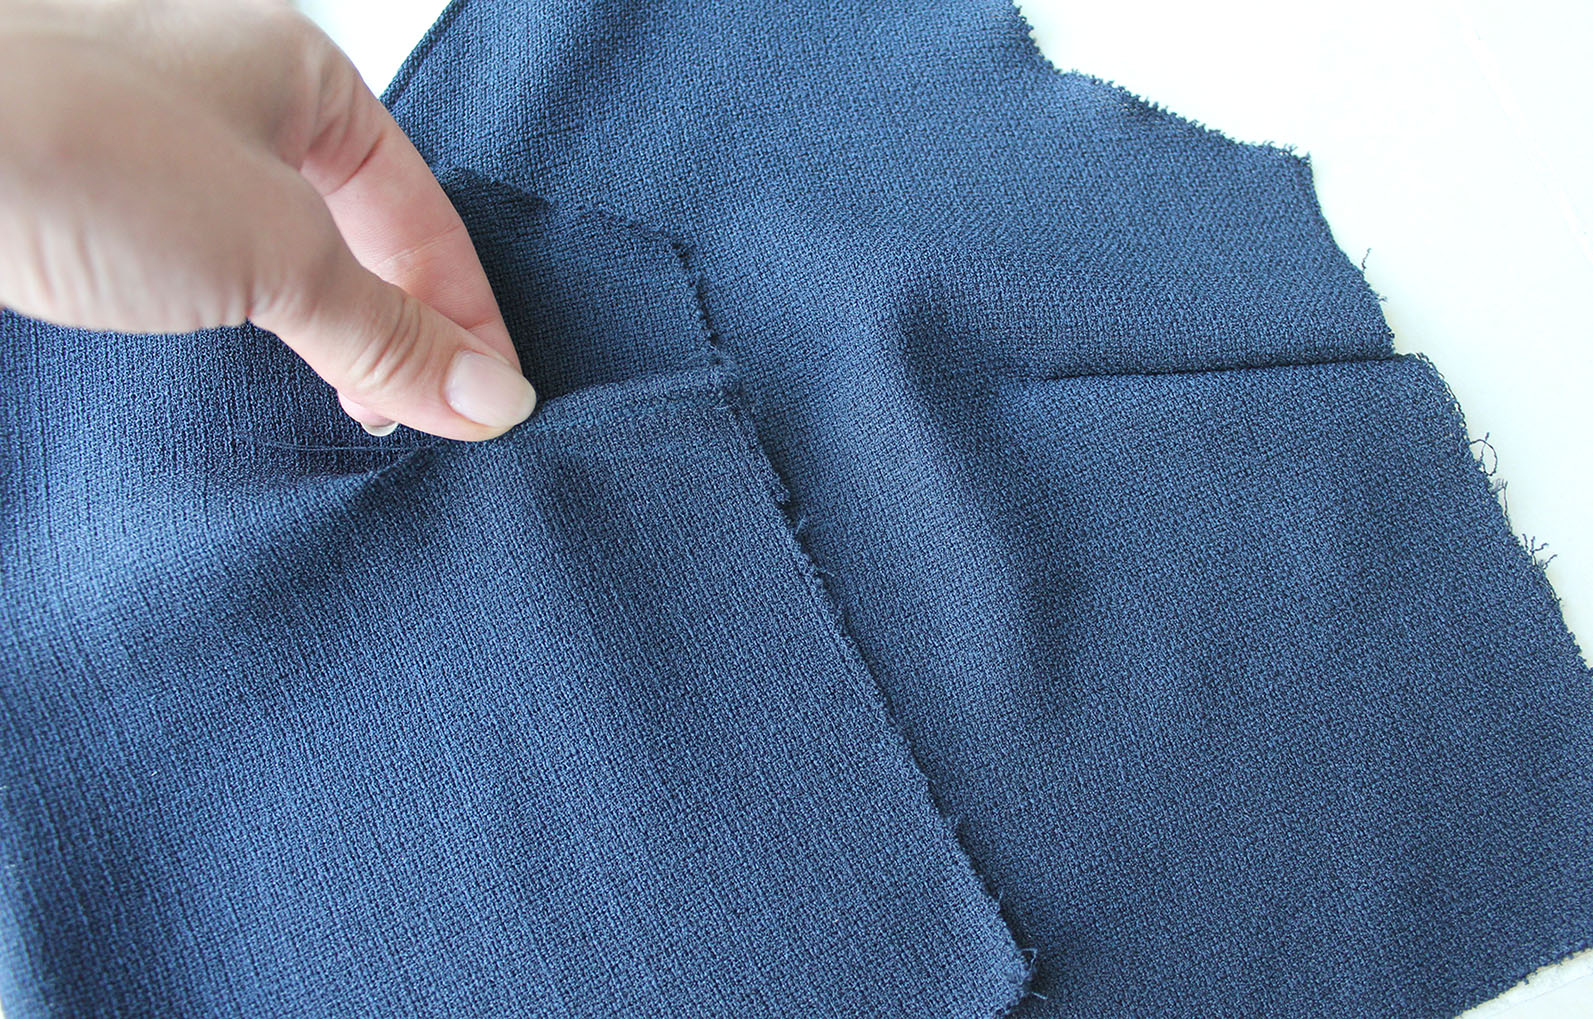
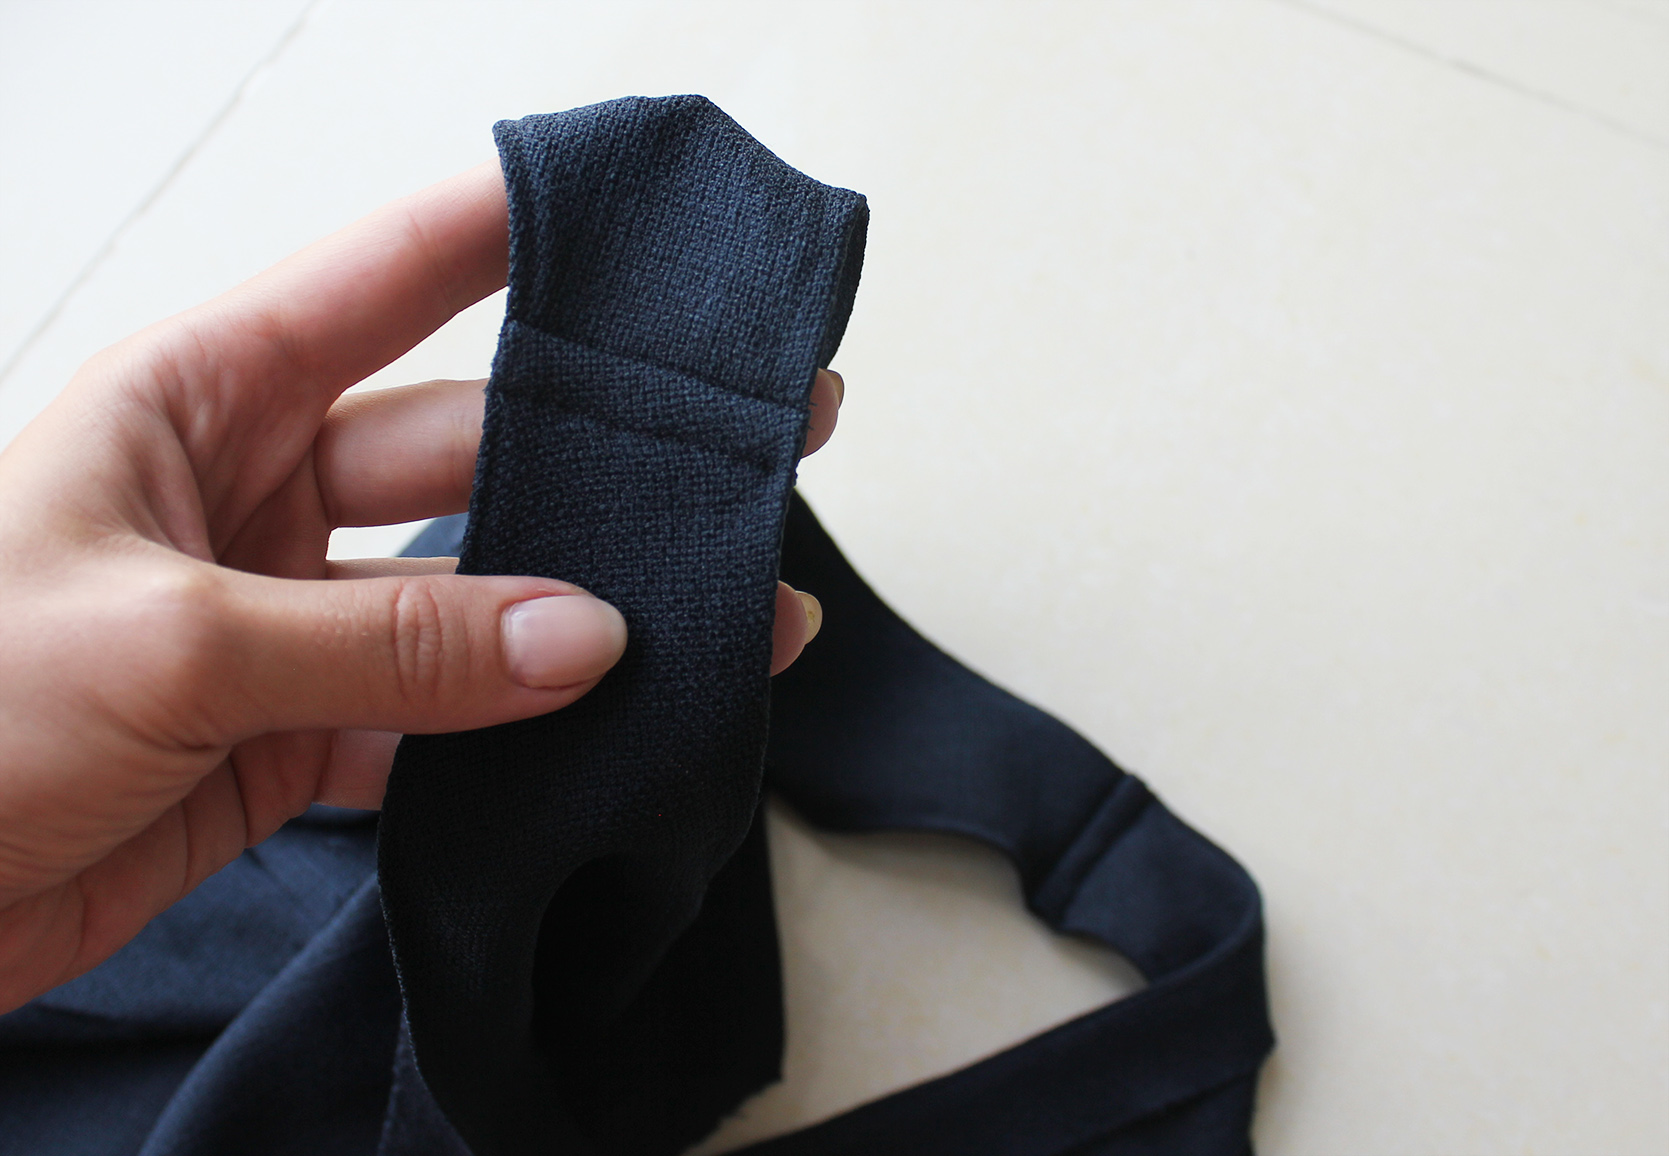
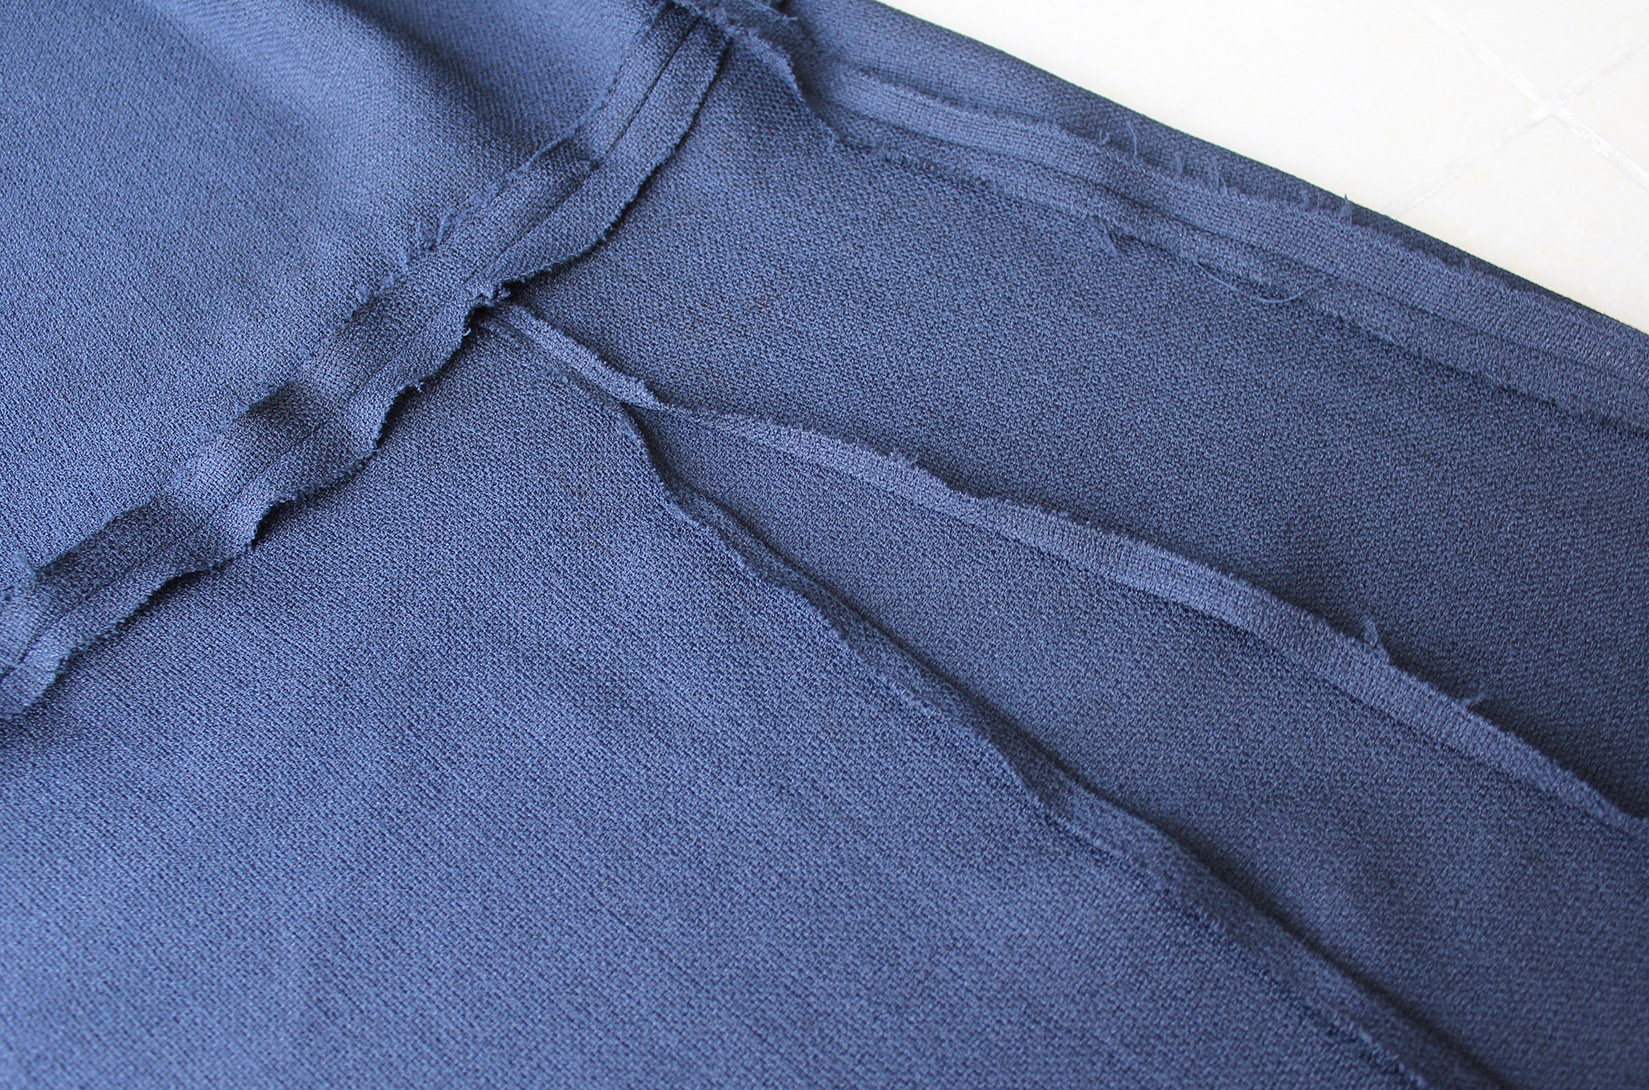
VII. Pin the shoulders together, the back pieces slightly higher than the front. Sew about 0.5 cm from the shorter edge.
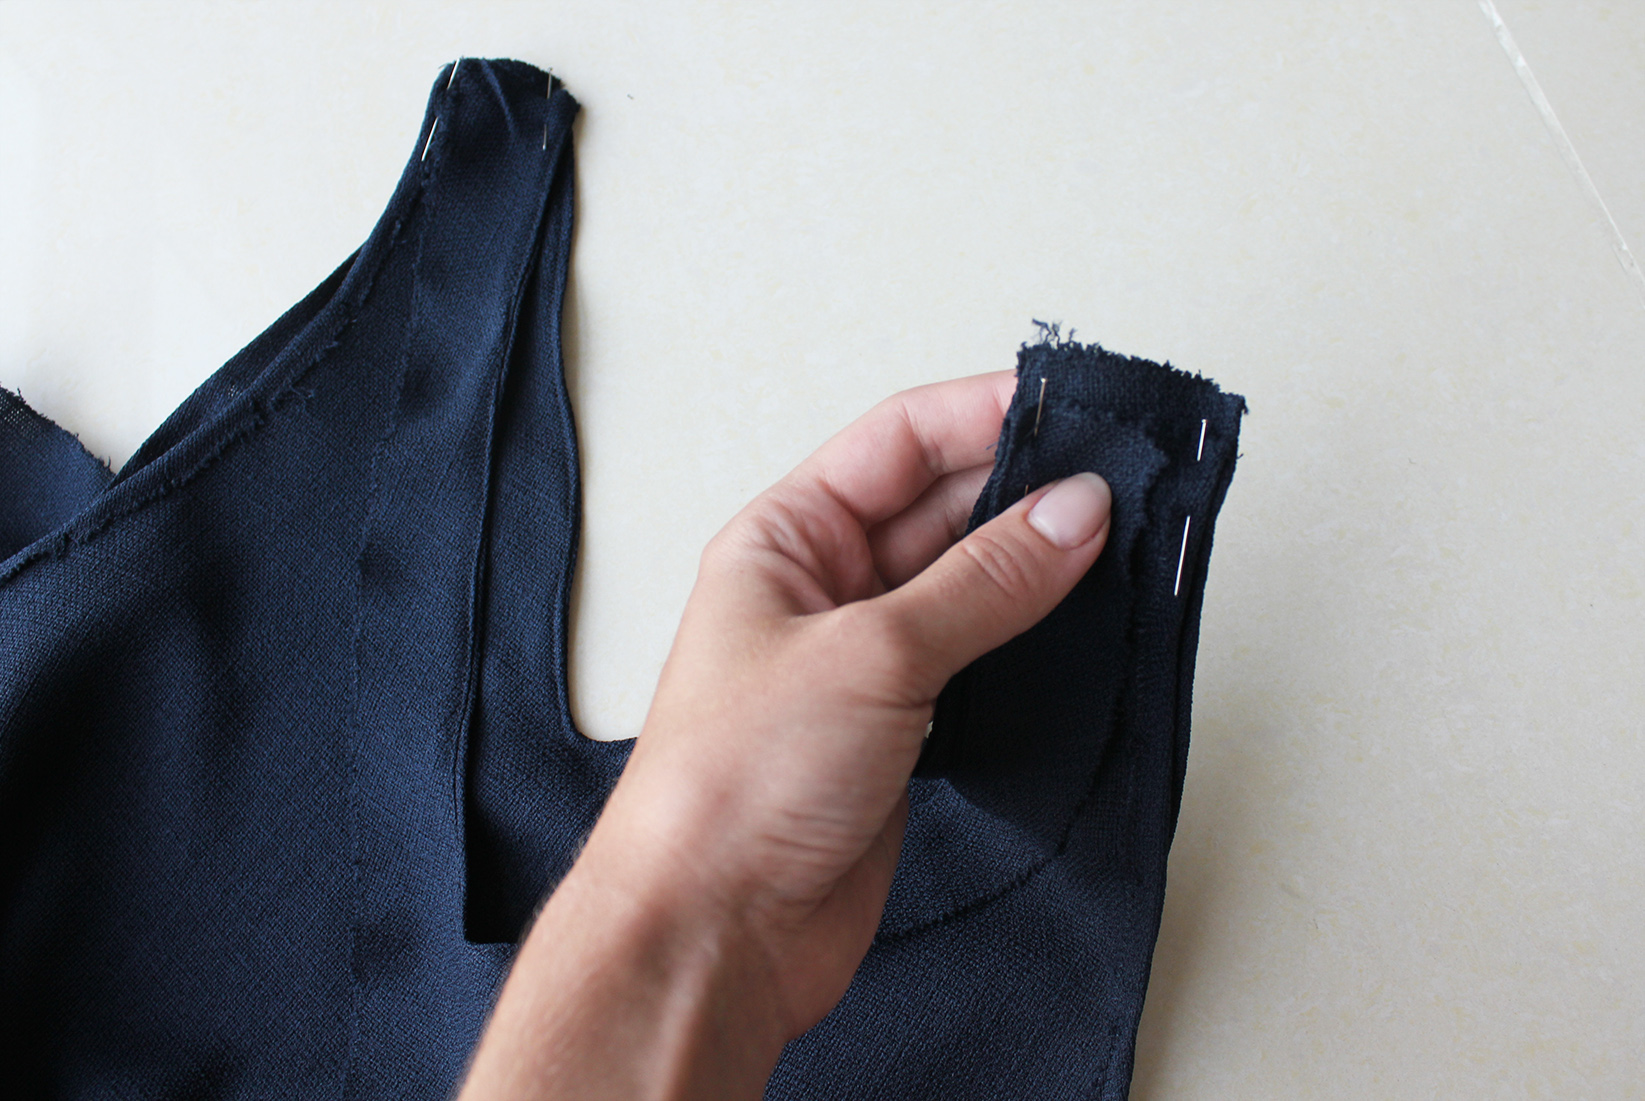
Then fold the longer piece over the shorter one on the reverse side, wrapping it inside.
Sew on the right side, about 0,5 cm from the first seam, to finish your flat-felled seam.
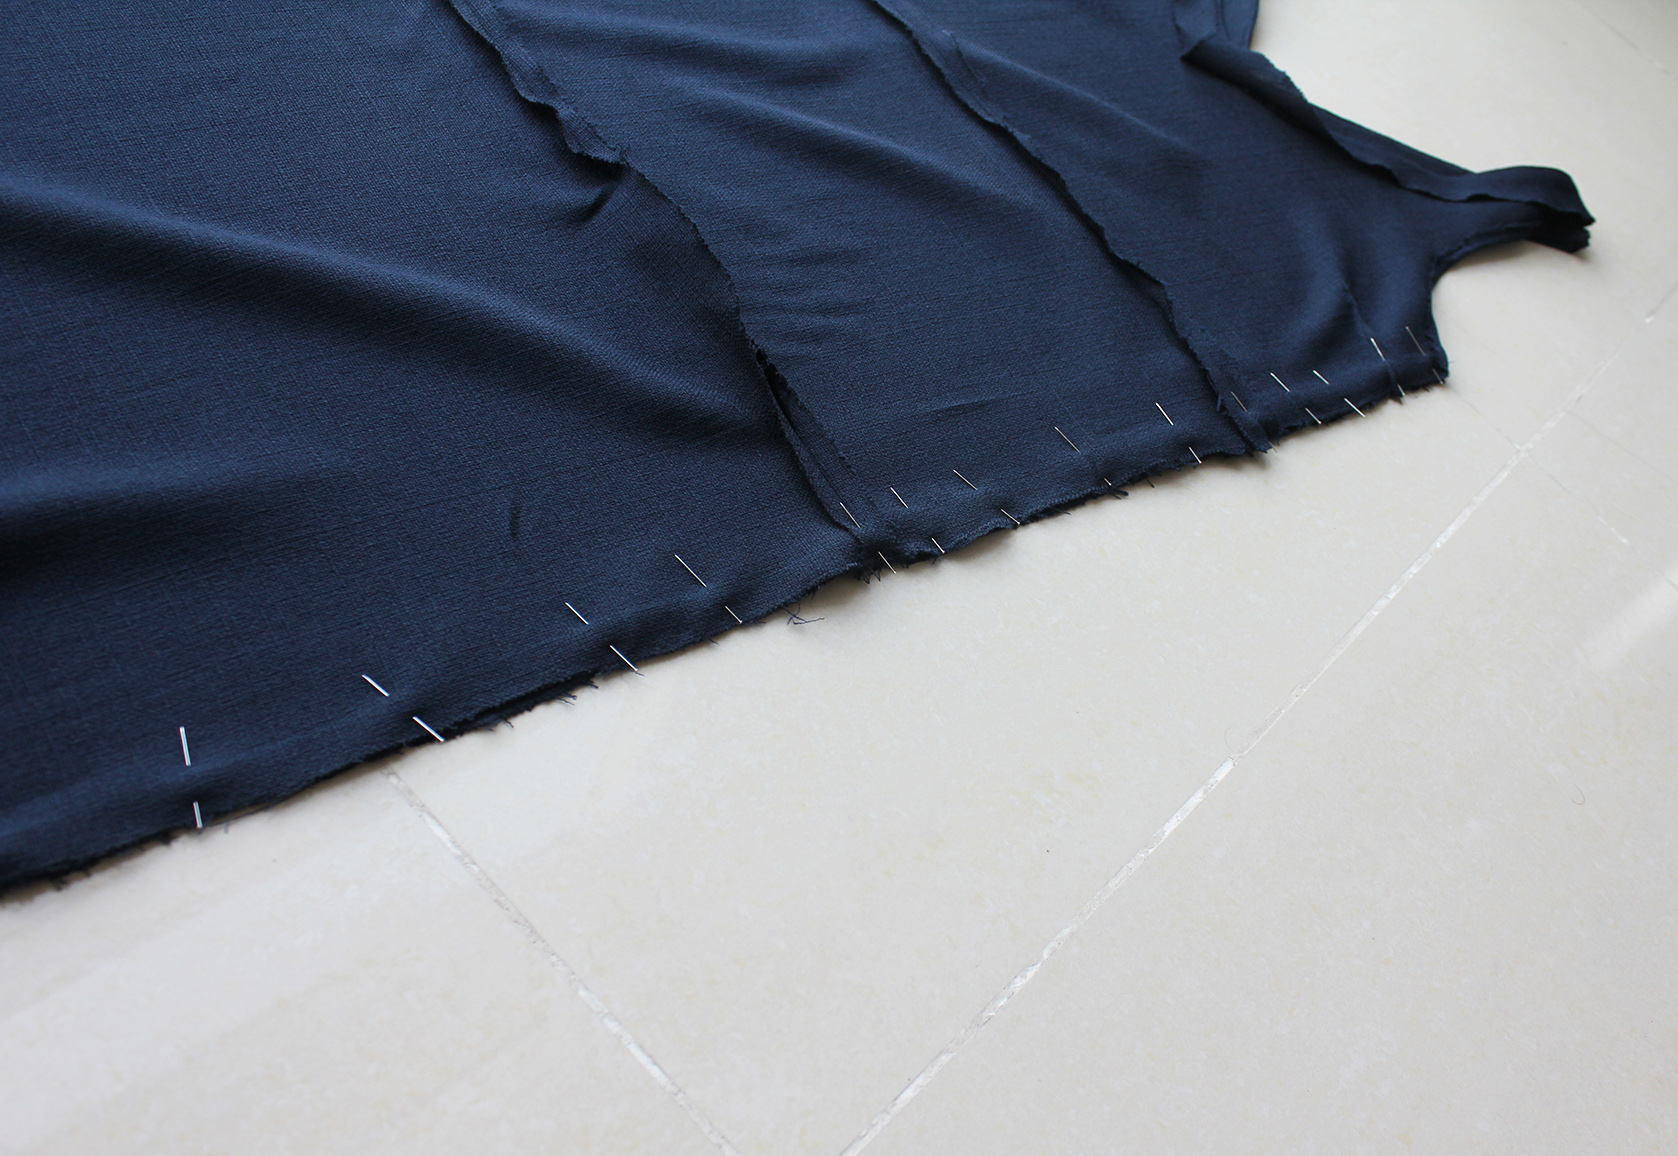
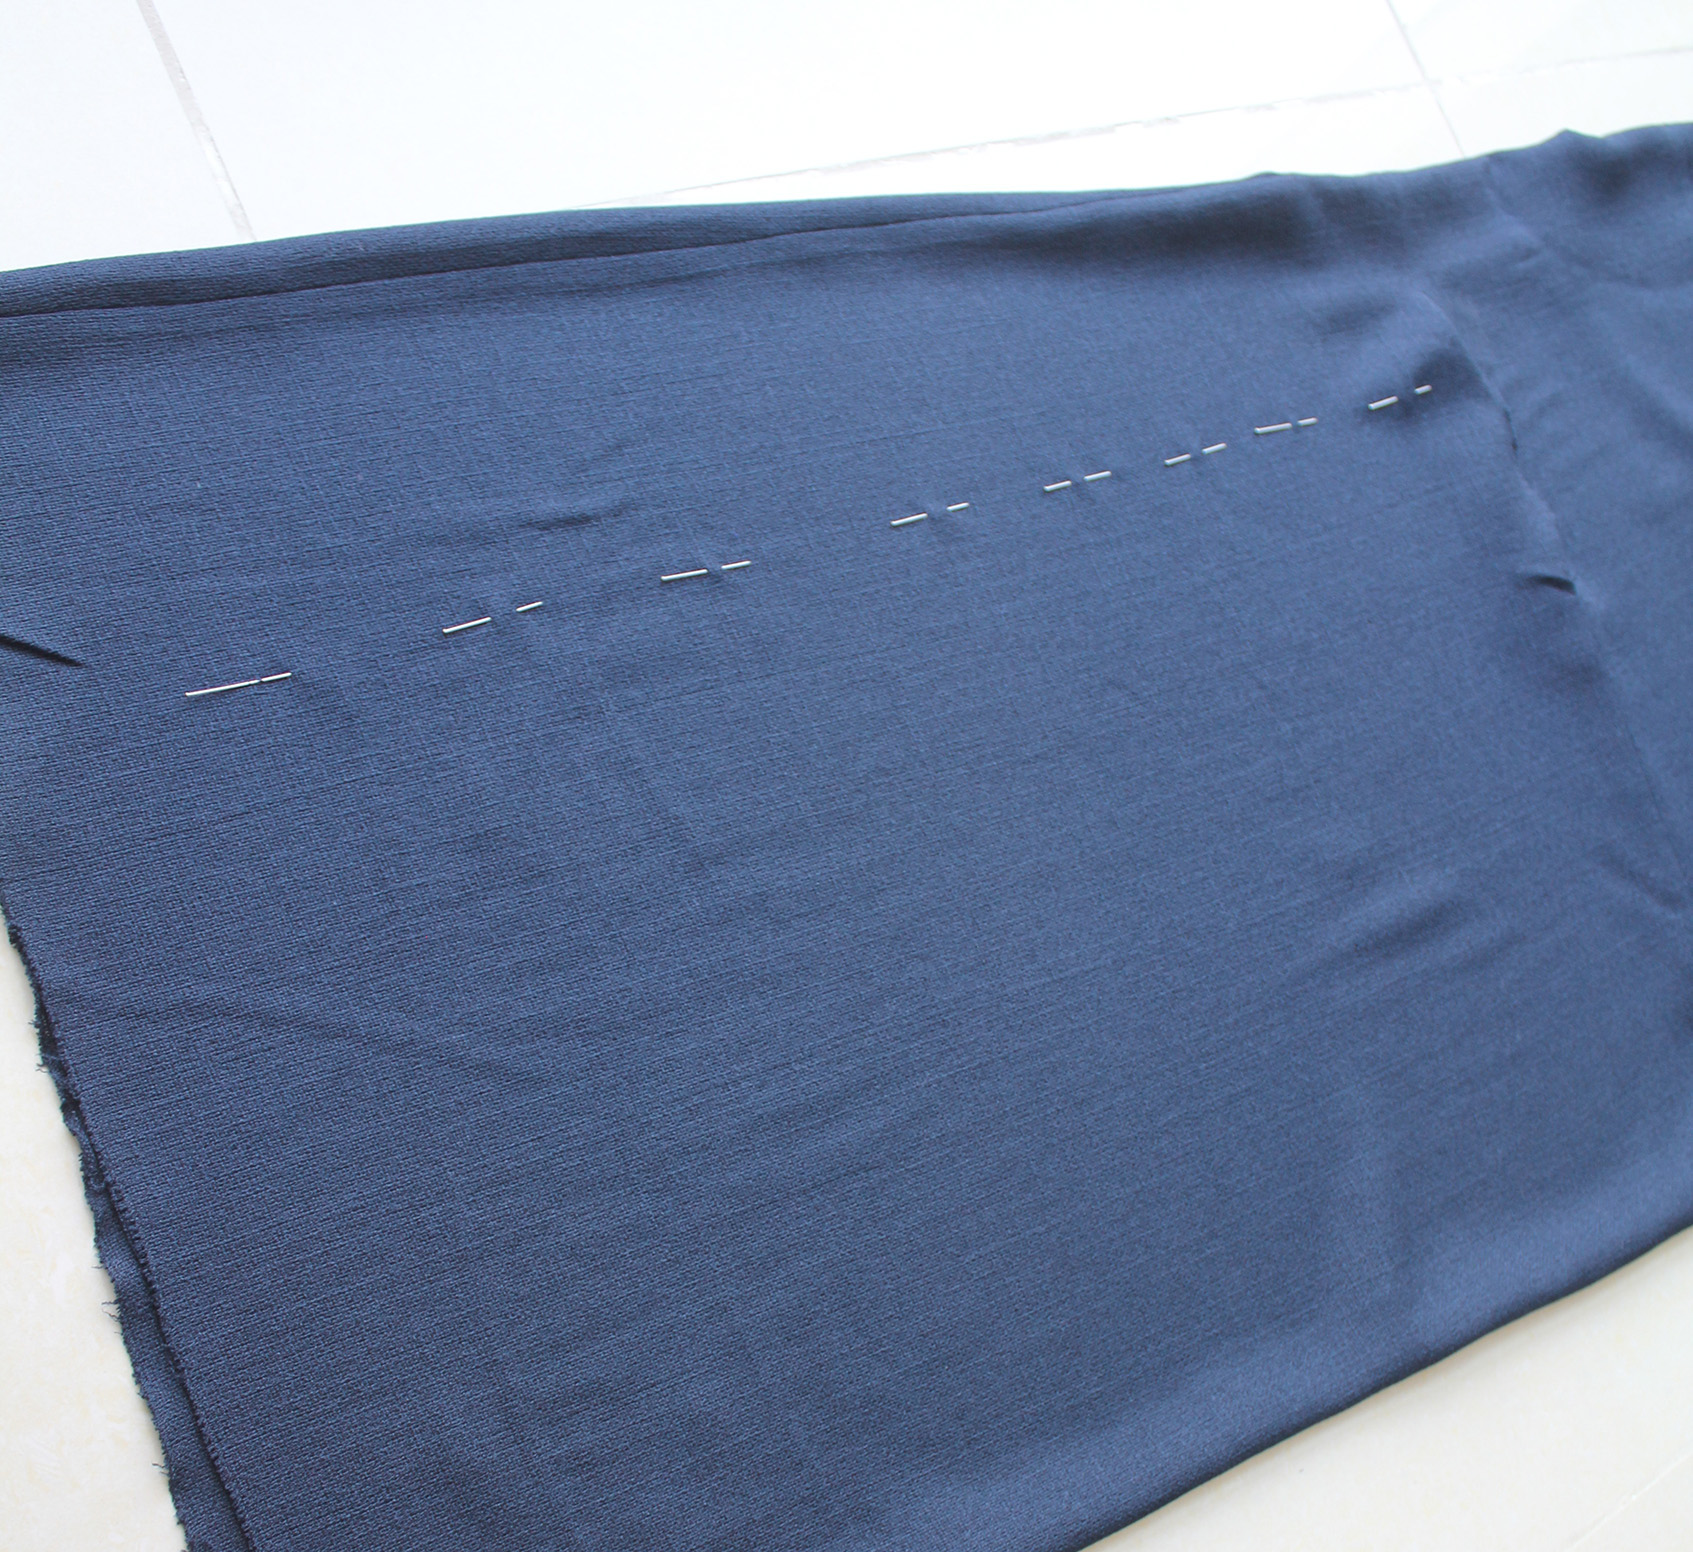
VIII. Pin the sides together, right sides facing, and stitch + press the seam open.
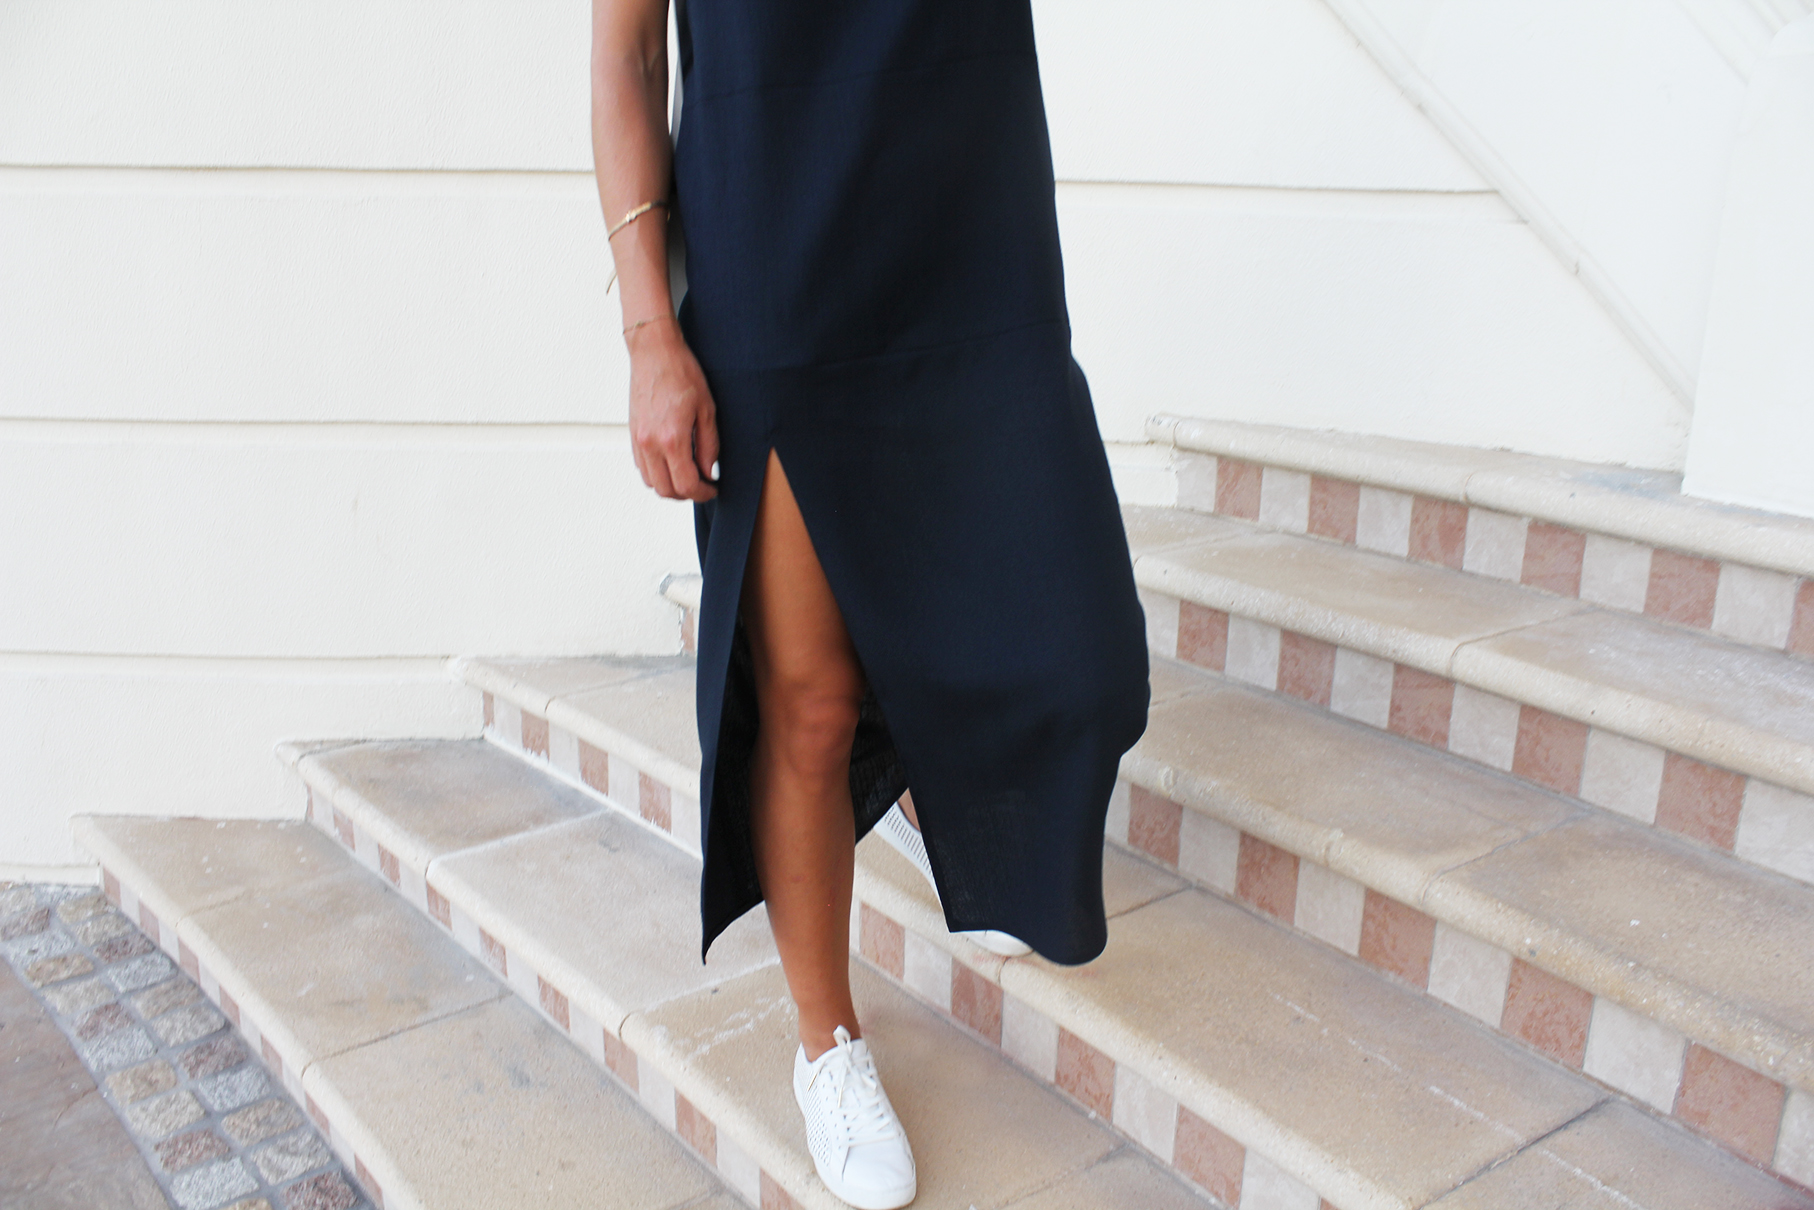
IX. I then confirmed where I wanted the slit to be by wearing the dress and marking it with pins. I cut the slit open and zig-zagged the raw edges.
My original plan was for the slit to go all the way through the bottom piece of the dress, but when trying on I decided I didn't want it quite that high. Luckily with the stretch I had in the fabric, I could stitch the top of the slit back together and still close the seam with the middle part. Gotta love knits (and this is why I call it freestyle sewing, you never know what's gonna happen but you make it work:). The folds on the slits I stitched in place by hand since I didn't want a seam on the right side.
X. As the final step, I hand-stitched the V's of the neckline in place, and hemmed the dress (also hand-stitching).


 xo,
xo,Julia


0 comments:
Post a Comment
I would love to hear what you think and learn about your DIY adventures! If you use one of my tutorials, tag me on social @contour_affair, I'd love to see!